
This guide walks publishers through testing Cashmere with a small set of content using either the UI or the API.
It assumes you are in sandbox mode and evaluating Cashmere for fit, performance, and workflow.
If you have content readily available to test with, this should take no longer than 20-30 minutes. You do NOT need to have developer skills to get started.
Prerequisites
Before beginning, this process assumes:
- You are ready to test with sample or non-production content
Step 0: Create Your Publisher Account
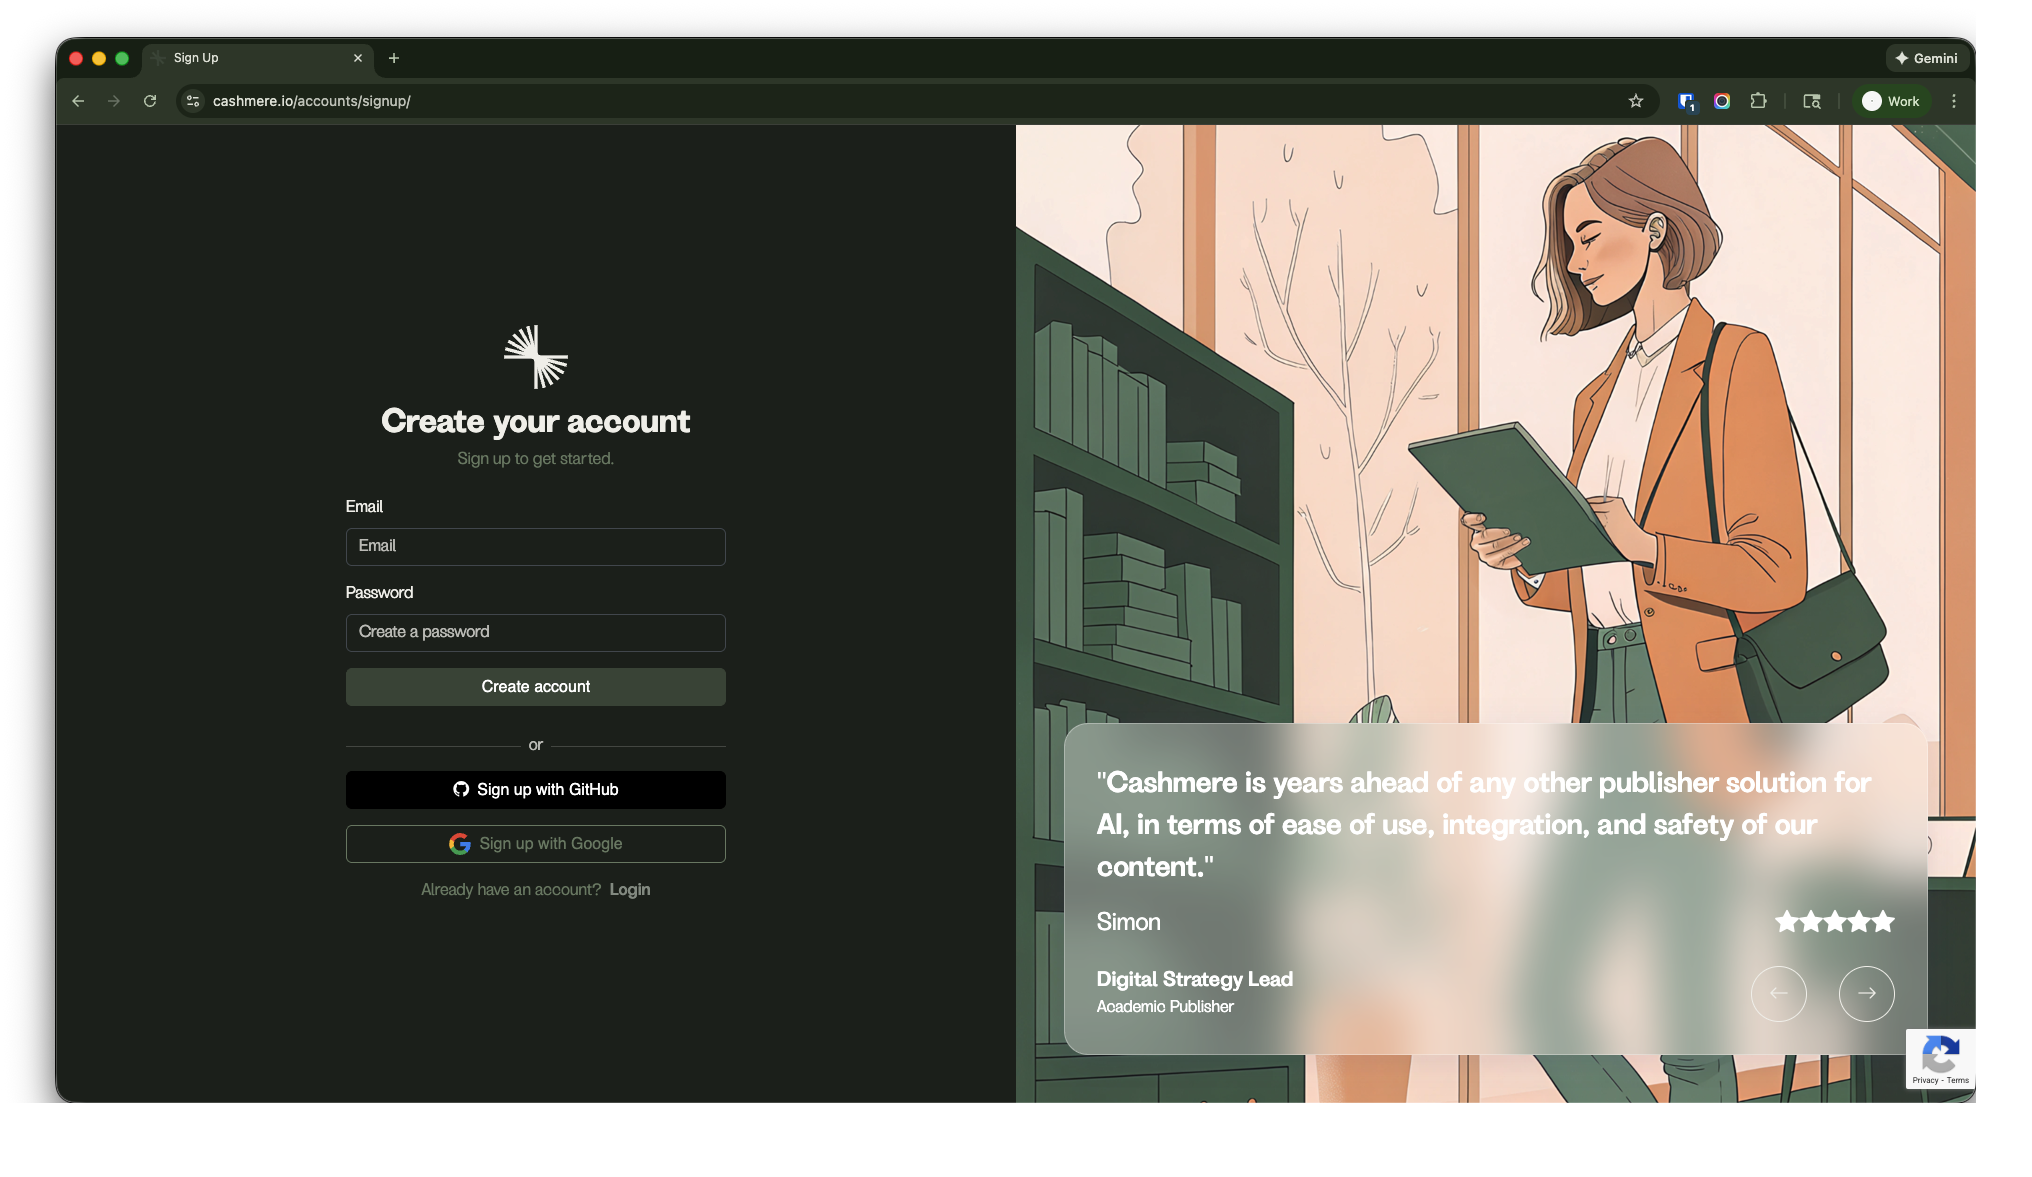
- Visit https://cashmere.io/accounts/signup
-
Create a new account.
This will be your Publisher account (one per publisher).
Step 1: Switch to Sandbox Mode
After creating your account, switch it to Sandbox mode from your account settings.
Any account can use Sandbox mode. You do not need approval from Cashmere to start testing publisher features in Sandbox mode.
Important notes
- Sandbox mode is intended for sample or non-production content
- You can use Sandbox mode to create collections, upload content, create API keys, and test retrieval workflows
- Production publishing still requires approval and completion of the appropriate publisher review process
Step 2: Publisher Account Activation (Sandbox Mode)
- Once your account is in Sandbox mode, publisher features are available for testing
- No Cashmere approval is required for Sandbox mode
If you are ready to move from Sandbox mode to production publishing, contact the Cashmere team to begin the approval process.
For production publishing, you will need to:
-
Send an email to
onboarding@cashmere.io
-
Include:
- The email address you used to create the Publisher account
- Complete the Know Your Publisher (KYP) process
Important production notes
- Each publisher may have only one Publisher account
- You may create unlimited developer/user accounts later
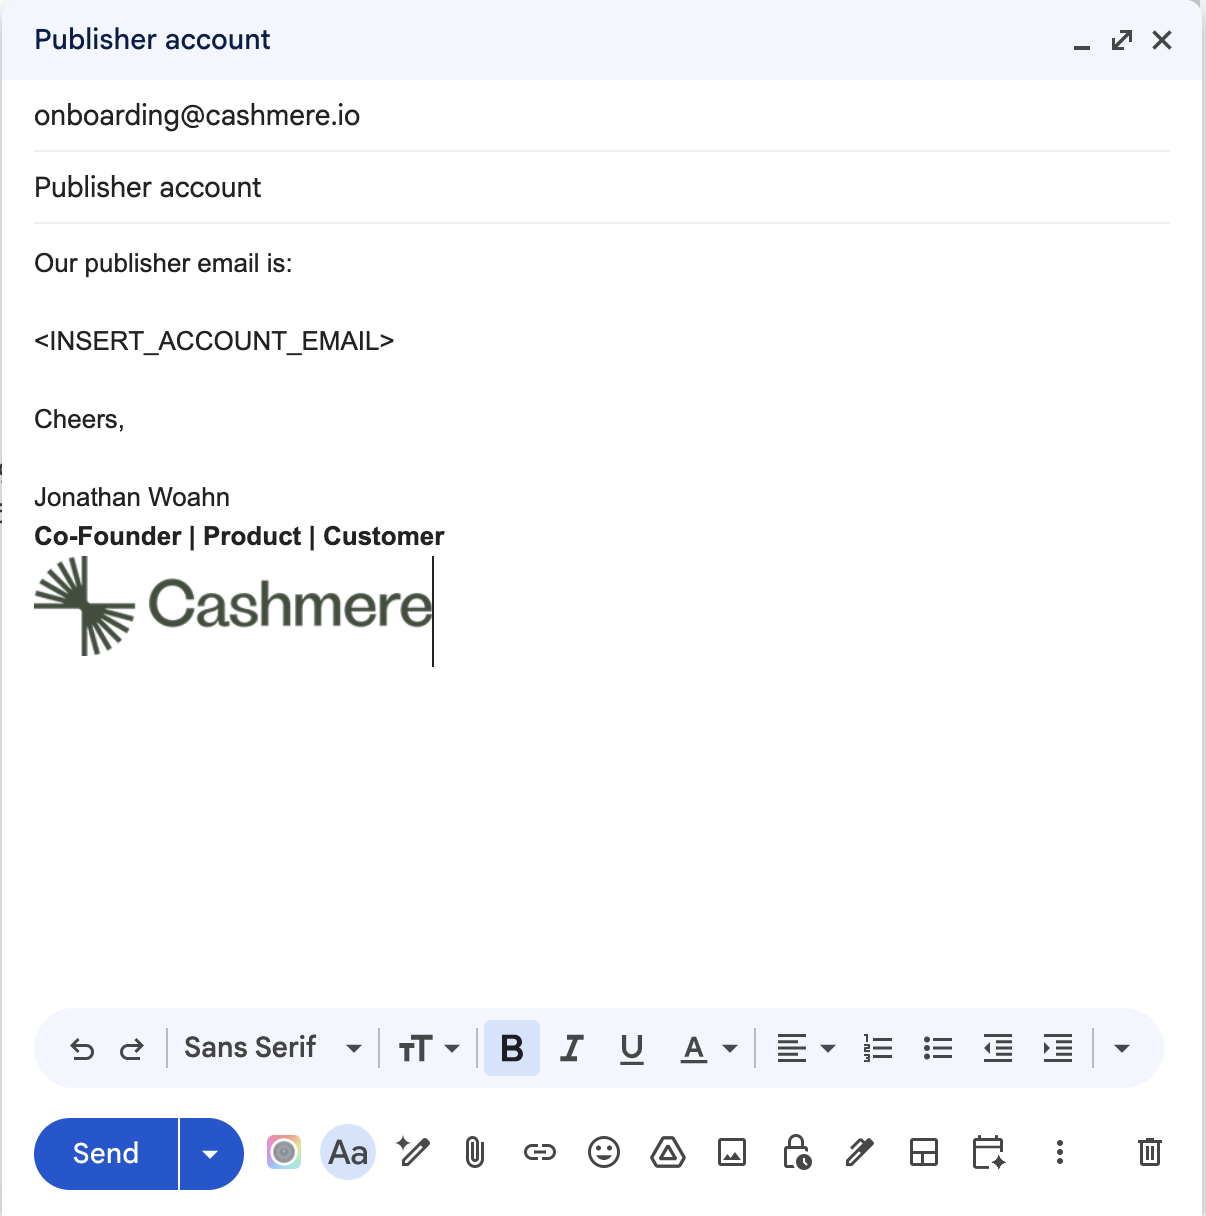
The email doesn’t need to be long, just enough so we can make the connection between your publishing account and the authorized account admin.
Step 3: Log Into the Console
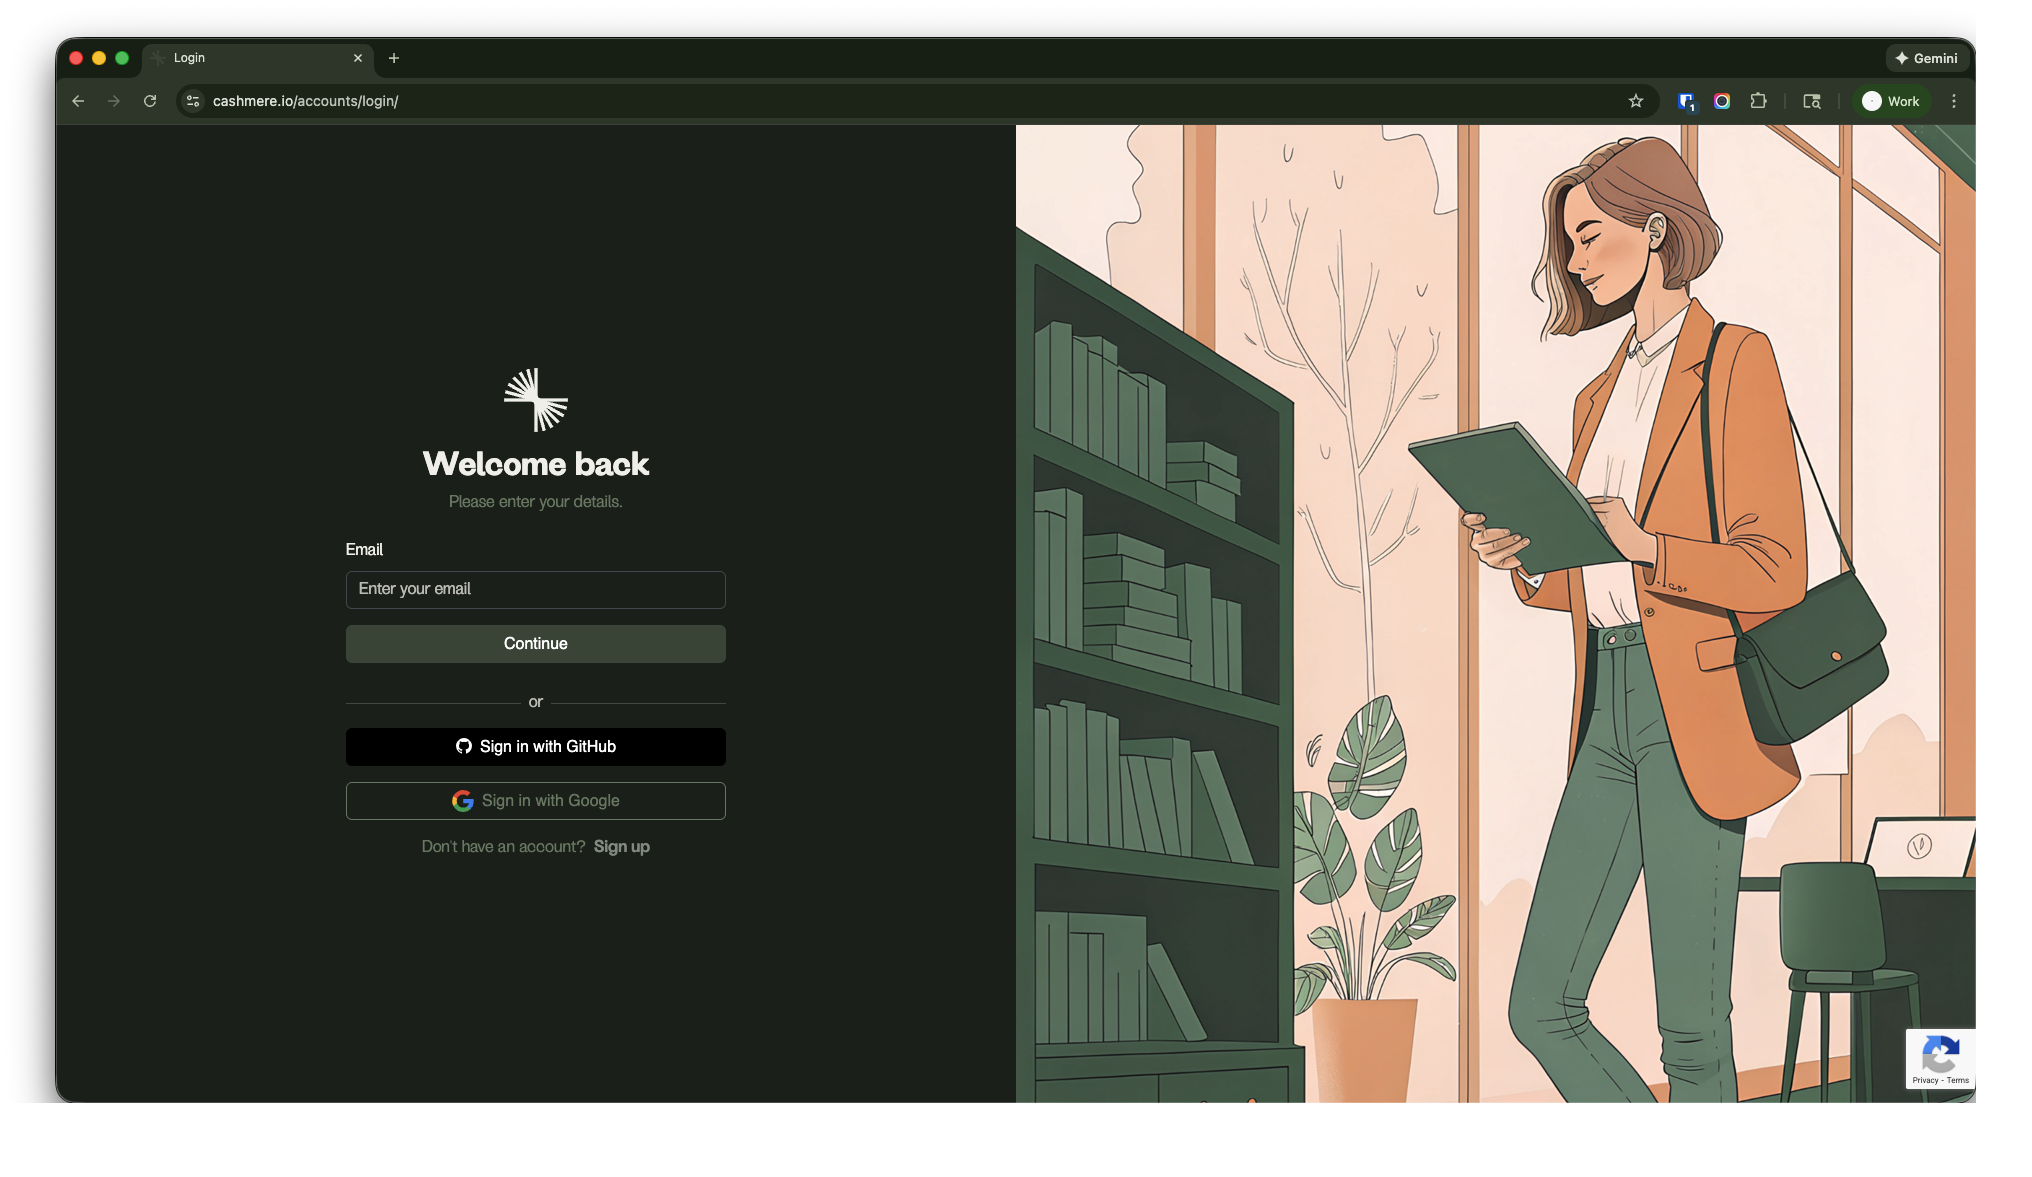
Have your developers log in at:
https://cashmere.io/accounts/login
Step 4: Create a Collection
-
Navigate to
https://cashmere.io/collections
-
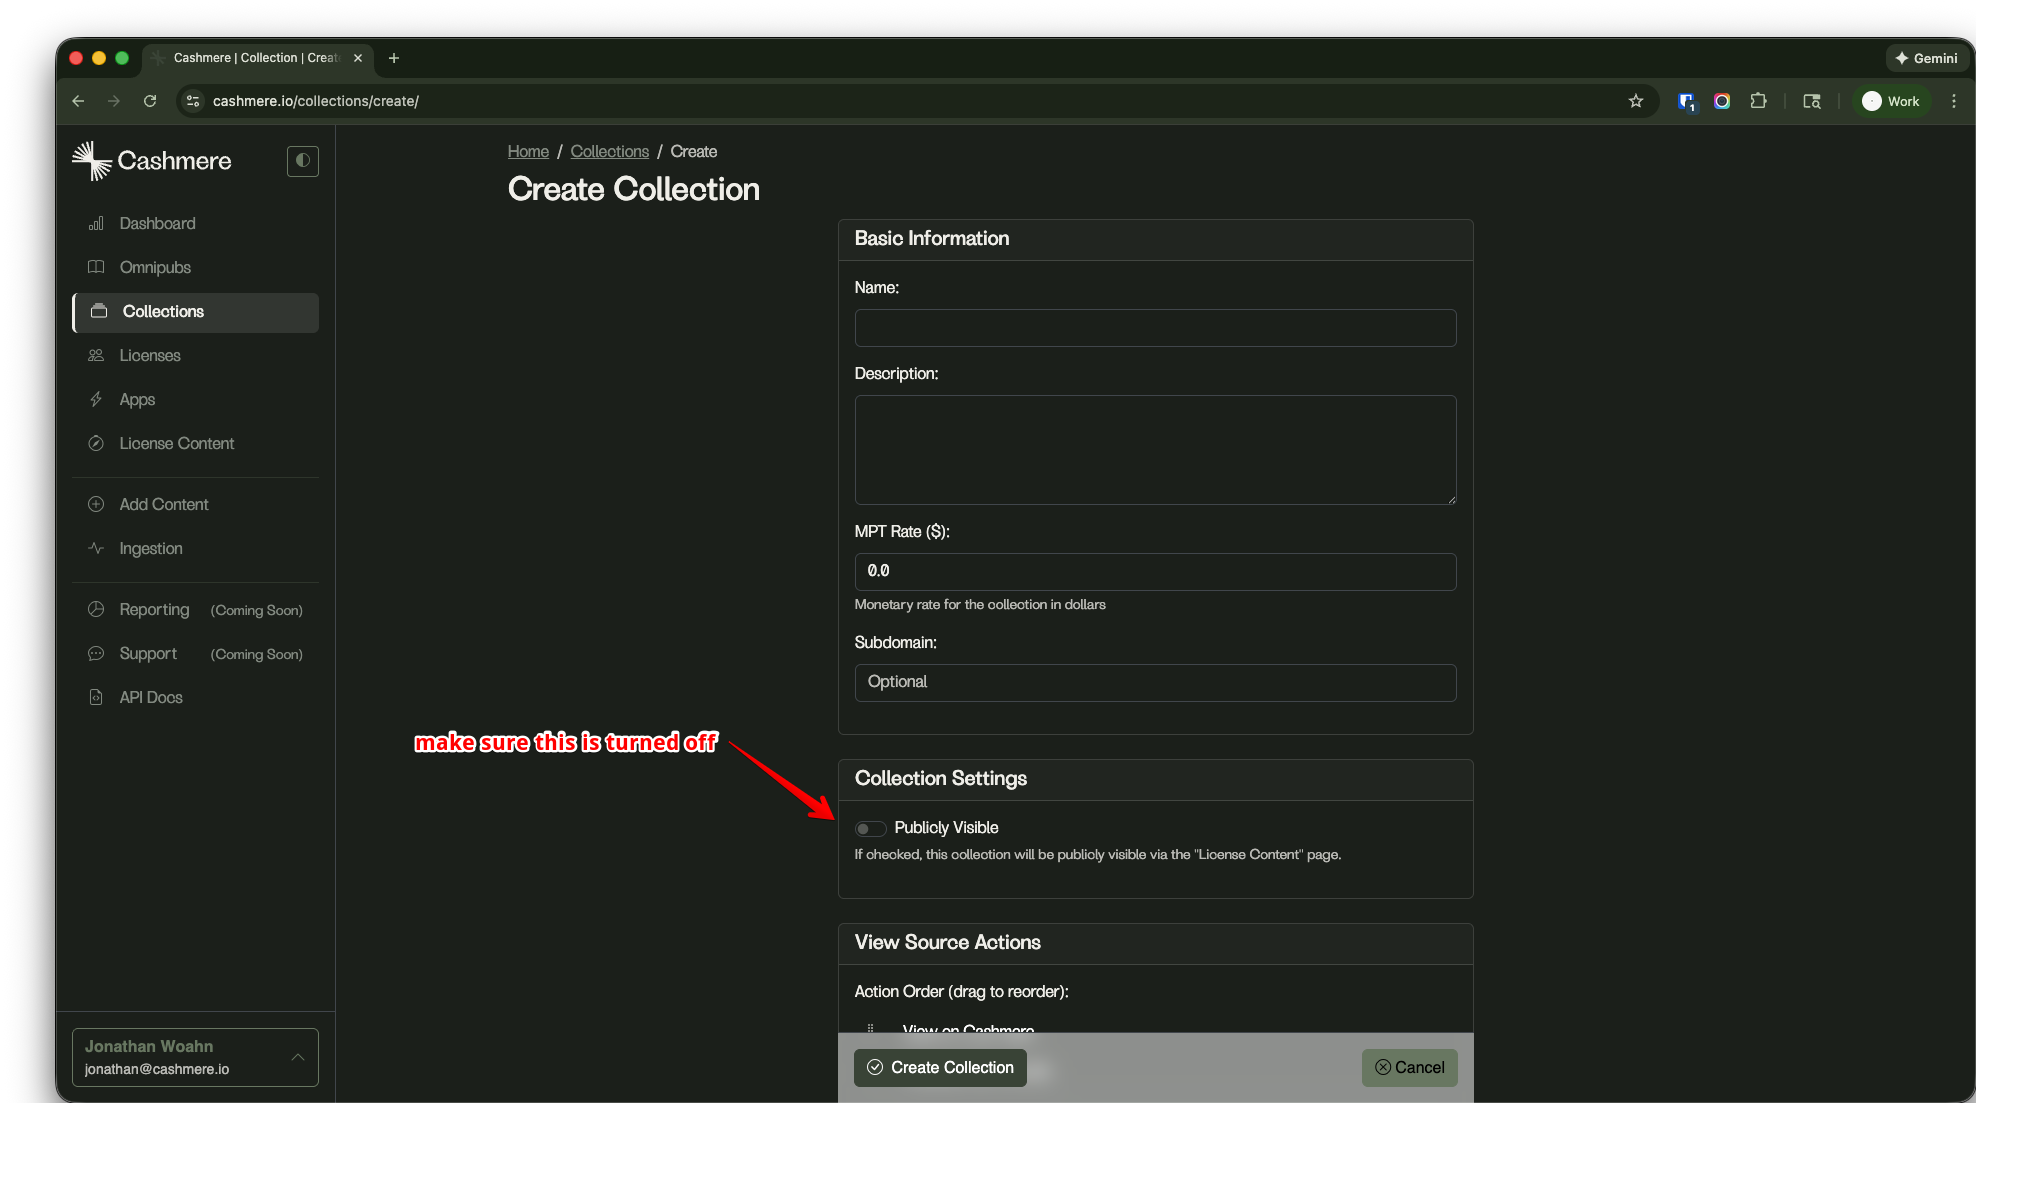
Click Create Collection
- Configure the collection:
- Name: e.g. Test Collection
- Collection Type: Manual
- Publicly Visible: ❌ Off
- Leave all other settings as default
Step 5: Choose Your Upload Method
At this point, decide how you want to upload content.
-
Best if:
- You have direct access to content files
- You want minimal setup
- You are uploading ≤ 500 files
- API Route
Best if:
- You want to test at scale
- You have engineering resources
- You want automated or repeatable ingestion
You may use either or both.
UI Route: Upload Content via the Web Interface
Step UI-1: Open the Upload Page
Navigate to:
https://cashmere.io/publishers/add-book
Step UI-2: Select Your Collection
- Choose “Test Collection” from the collection dropdown
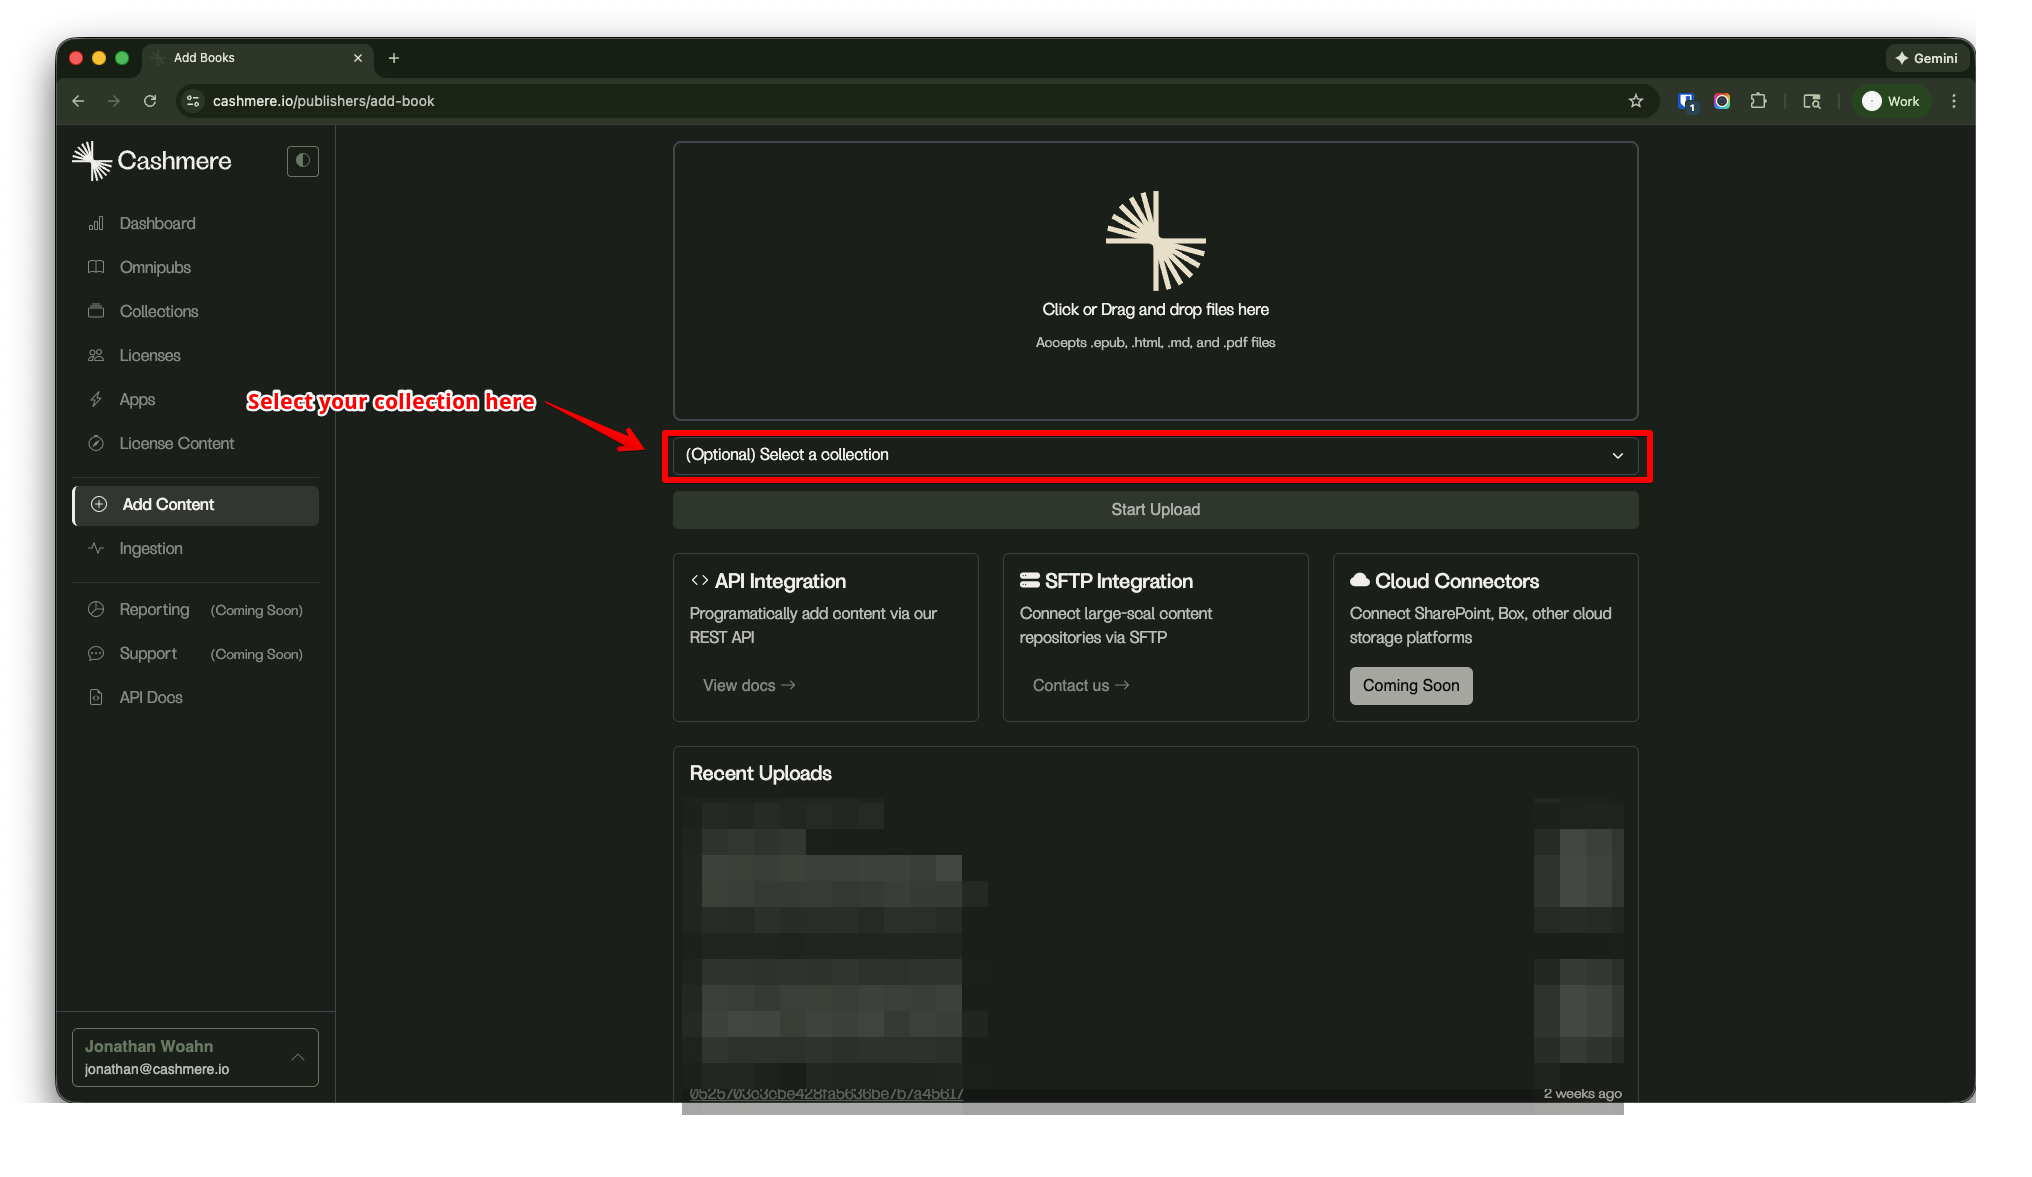
Step UI-3: Upload Files
-
Drag and drop content files into the upload area
(PDF, EPUB, XML, Markdown, TXT, etc.)
-
Click Start Upload
API Route: Upload Content Programmatically
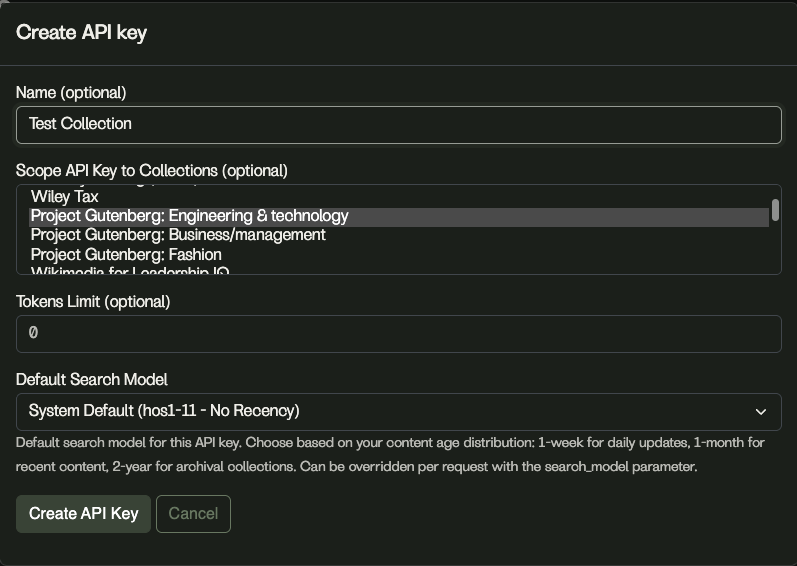
Step API-1: Create an API Key
-
Navigate to
https://cashmere.io/settings/api-keys
-
Click Add Key
- Configure the key:
- Name: e.g. Test Collection API Key
- Scope: Select Test Collection
Step API-2: Copy and Store Your API Key
- Copy the API key immediately
- This is the only time it will be shown
- If lost, you can generate a new key
Step API-3: Create Omnipubs via the API
Follow the API documentation here:
https://cashmere.io/api/v2/docs#operation/booktalk_api_public_v2_add_pub_create_omnibook_async
You can:
- Use Postman or another API tool for small tests
- Write a simple script to upload larger datasets
Monitoring Ingestion Status
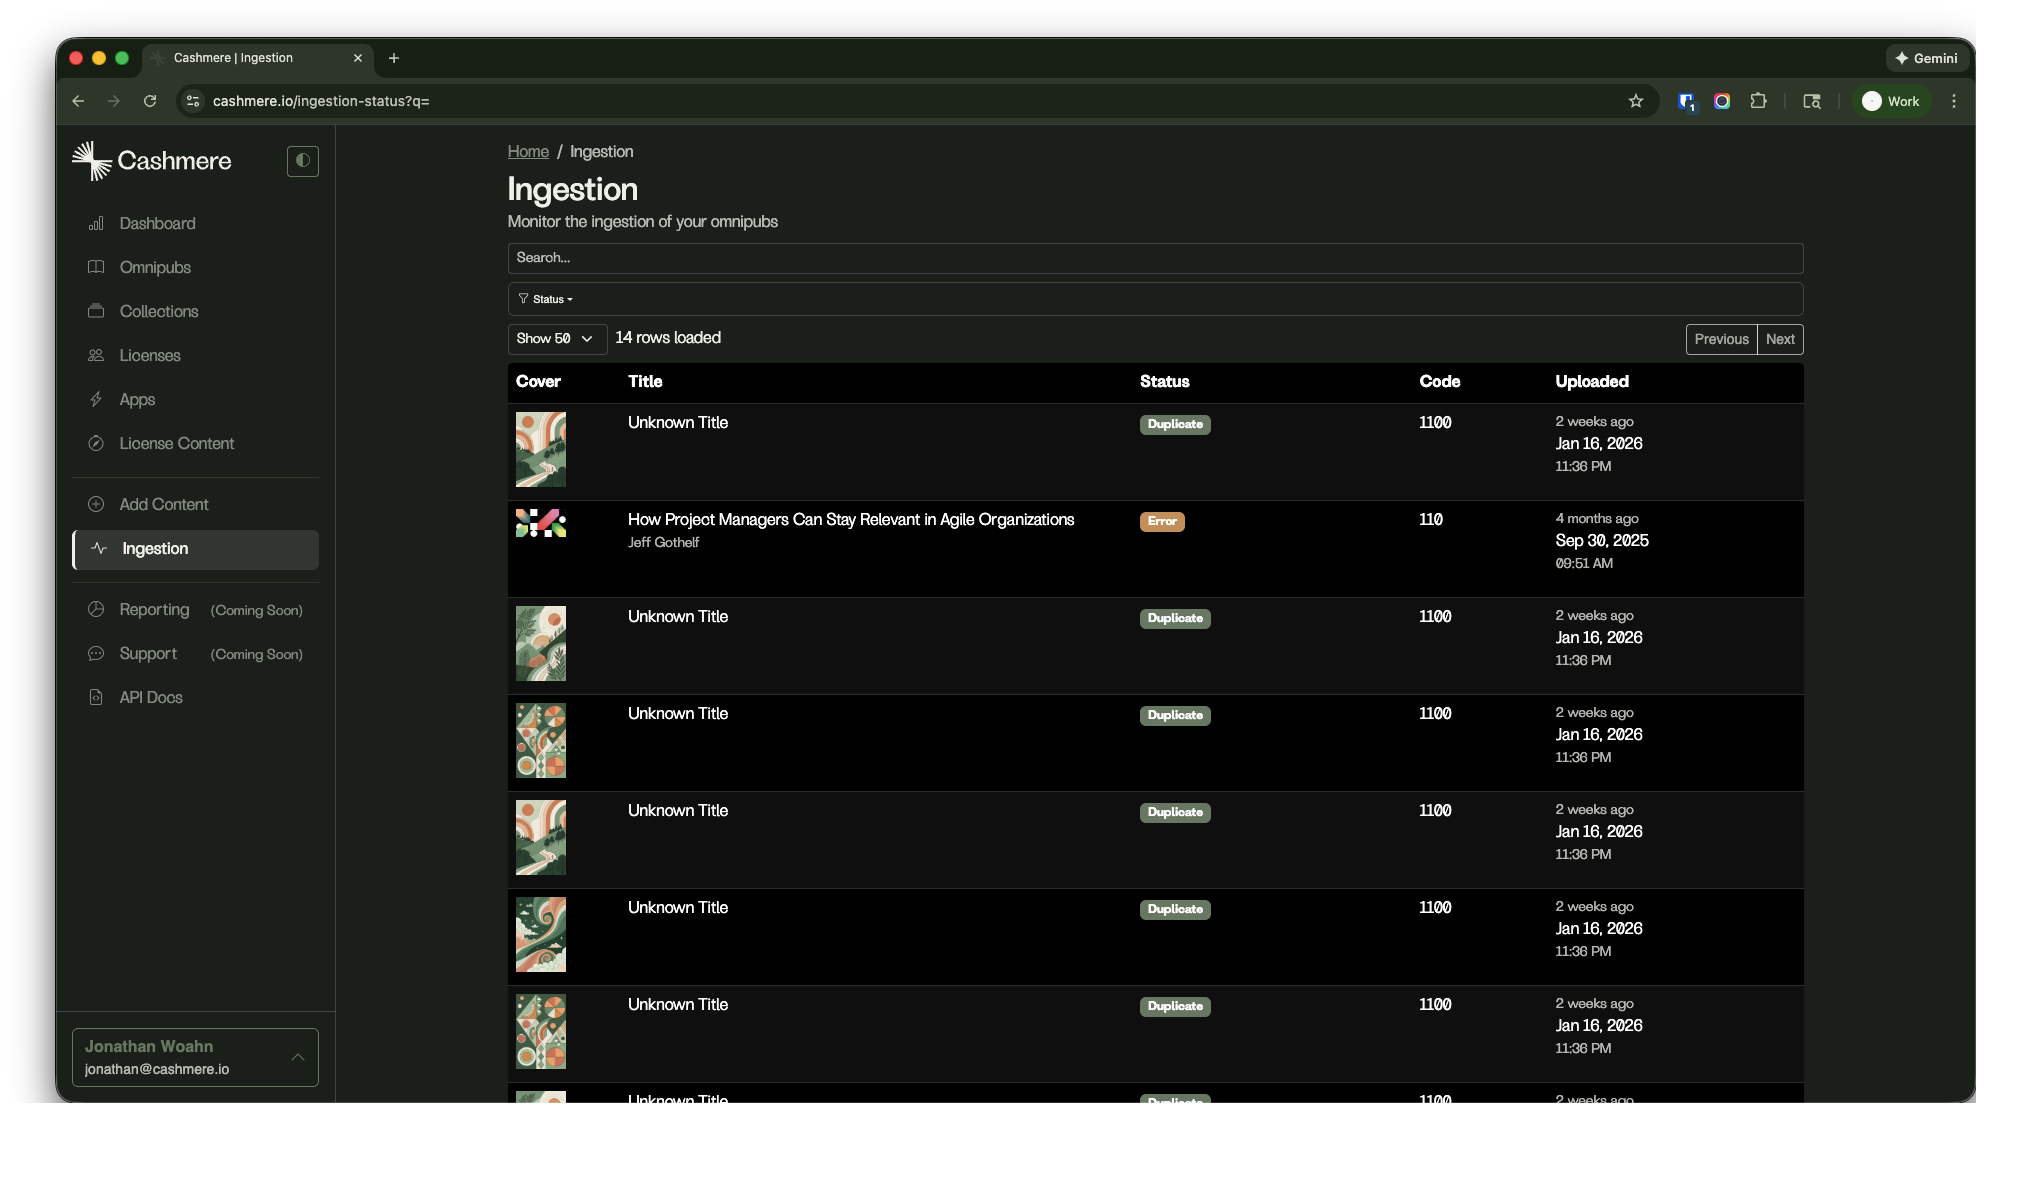
Step 1: Track Processing
Visit:
https://cashmere.io/ingestion-status
- Monitor file processing and conversion
- Ingestion usually completes quickly
- If processing exceeds a few hours, contact the Cashmere team
Step 2: Verify Omnipubs
Once ingestion completes:
-
View your content at
https://cashmere.io/omnipubs
-
Your collection will now show associated content
Step 3: Ensure You Have an API Key
If you uploaded content via the UI:
- You still need an API key to test access
- Follow the API Route → Create an API Key steps above
Testing Your Content
With content ingested and an API key created:
- Your Omnipubs are immediately testable
- You can:
- Follow the ChatGPT integration instructions
- Follow the Claude integration instructions
- Query your content using the Cashmere API or MCP endpoints
You are now fully set up to evaluate content quality, structure, and retrieval behavior.
Next Steps (Optional)
Once initial testing is successful, reach out to the Cashmere team to explore:
- Connecting Cashmere to your user login or subscription system
- Launching subscription-based applications
- Launching a UI-based MCP application
For next steps or questions, contact:
onboarding@cashmere.io